Create Client Requests
From the client perspective, you can now create and control your own requests using Skills Workflow.
After collecting your credentials and logging in, the first step is to create your request.
-
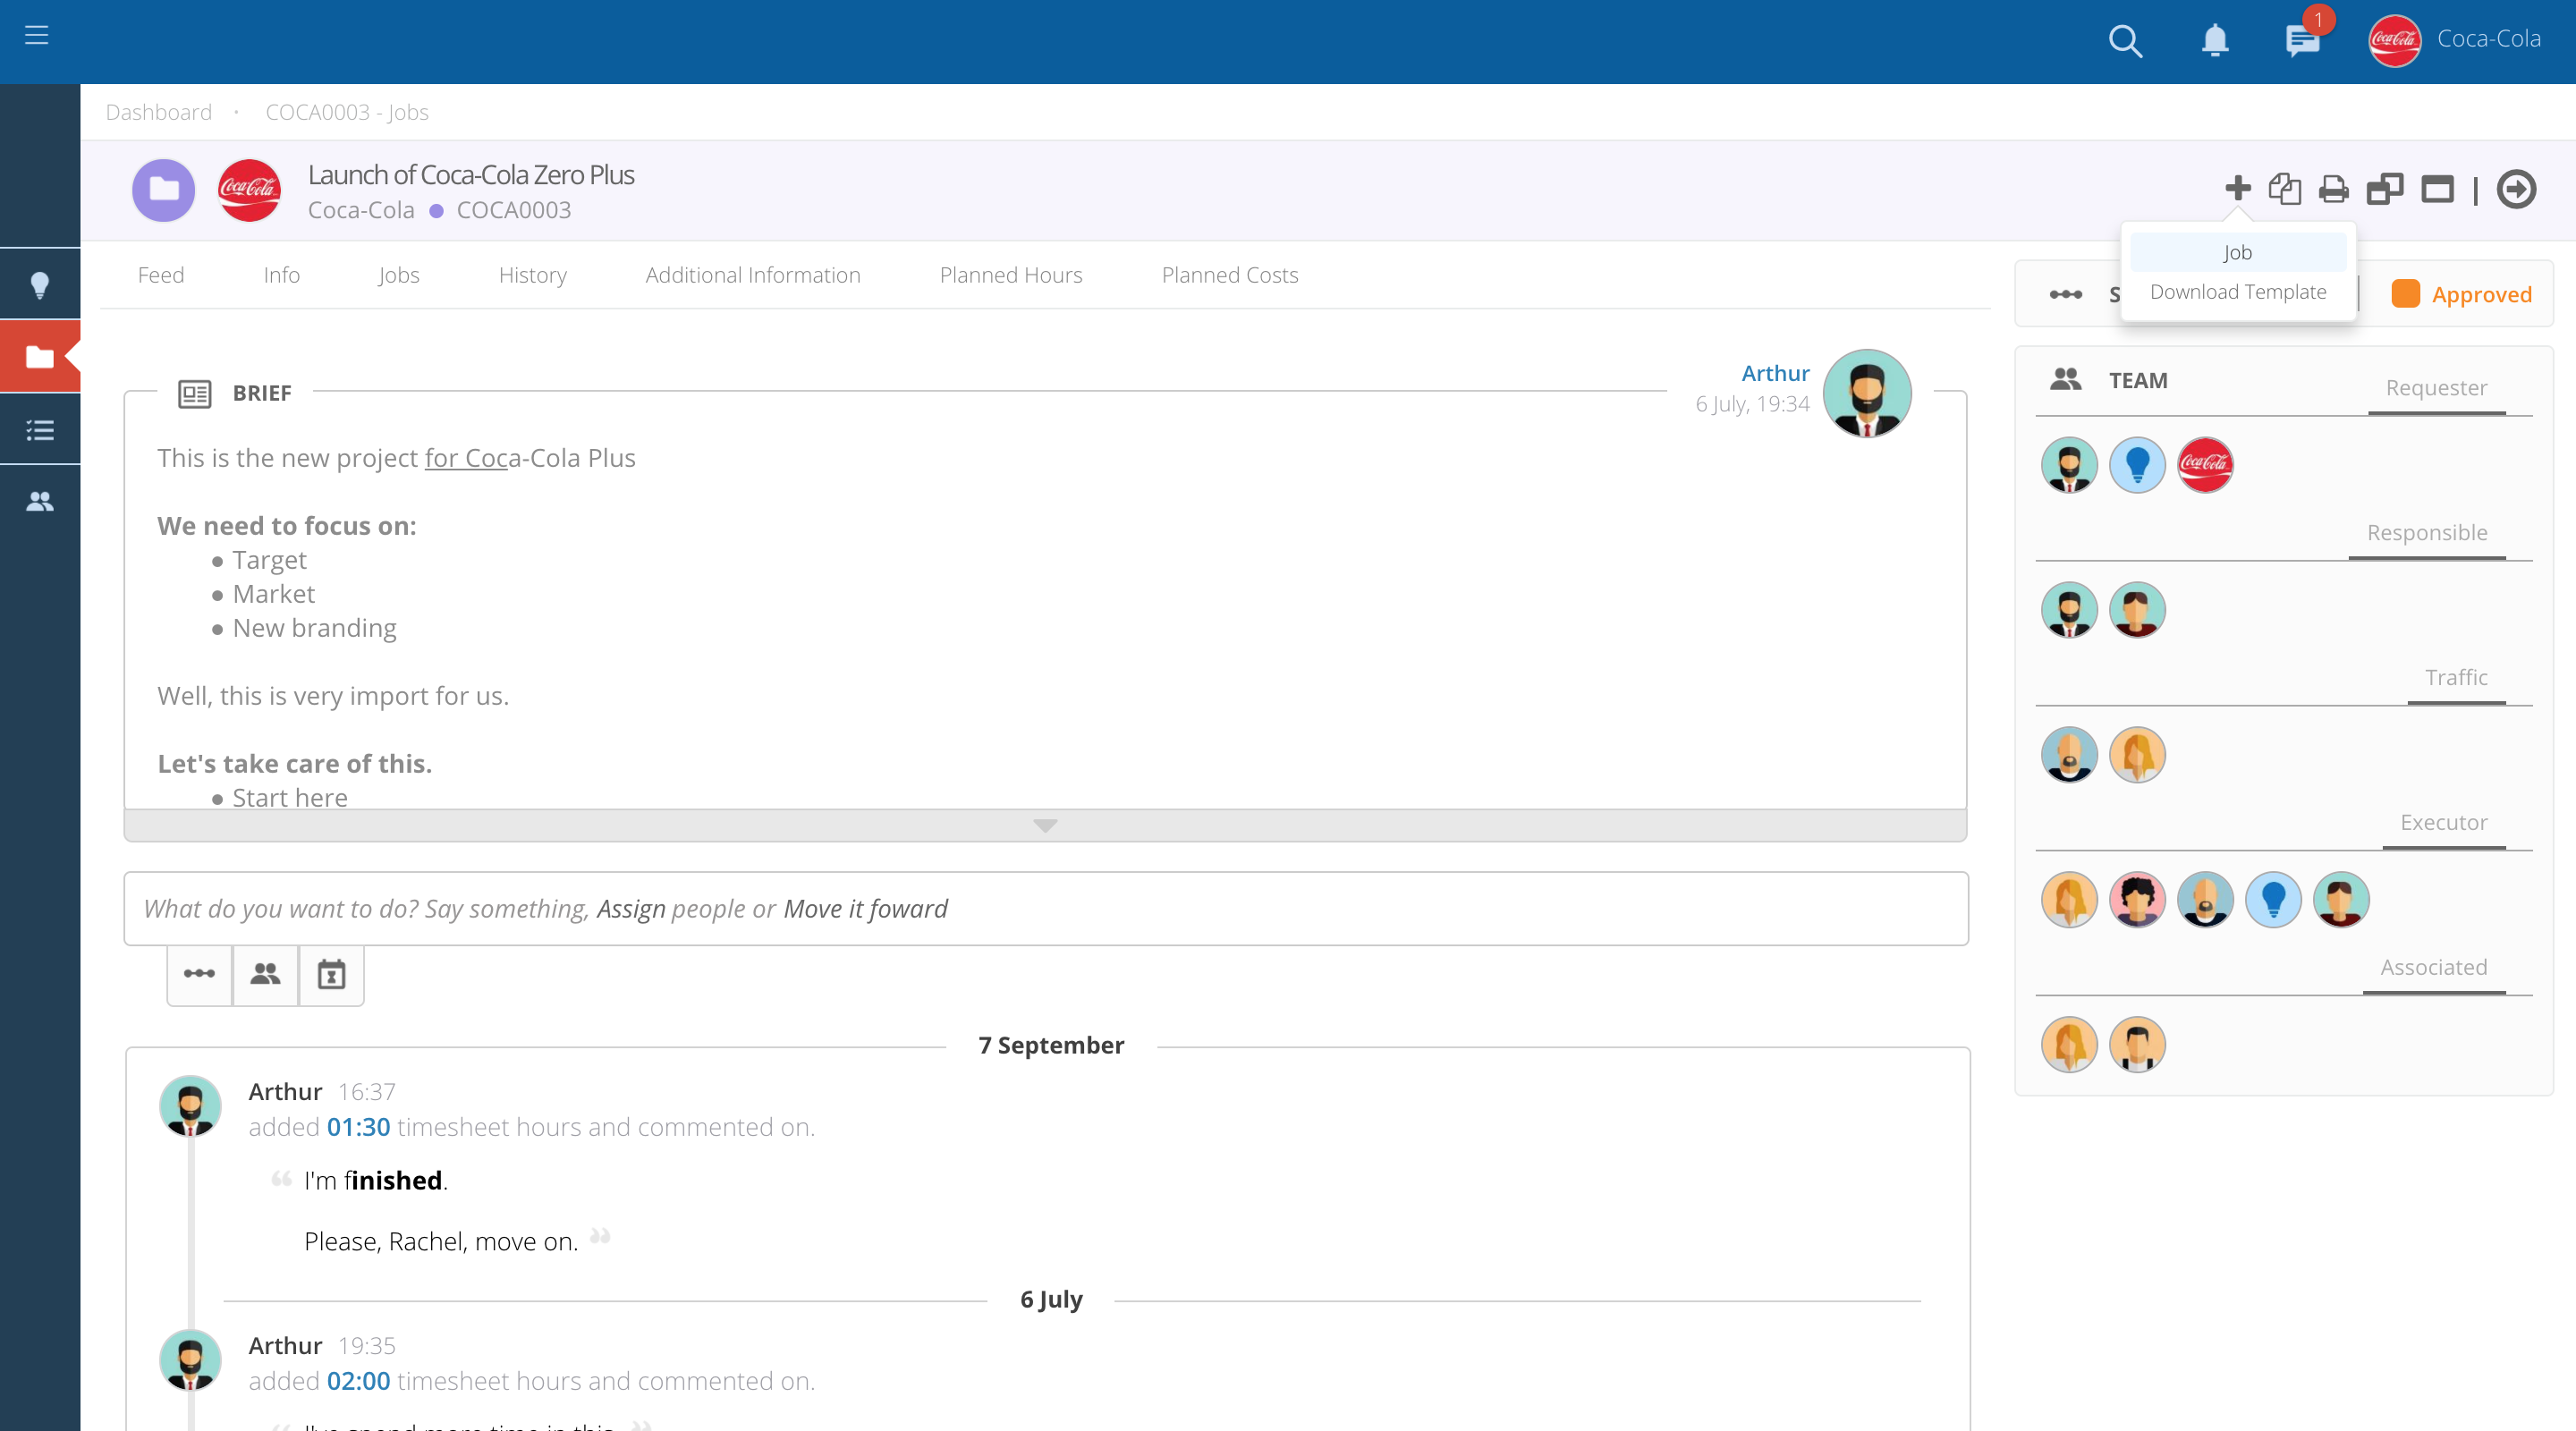
For that you just need to access the Project you're involved with, create a new Job.
-
You are only going to have access to the Projects you're involved with.
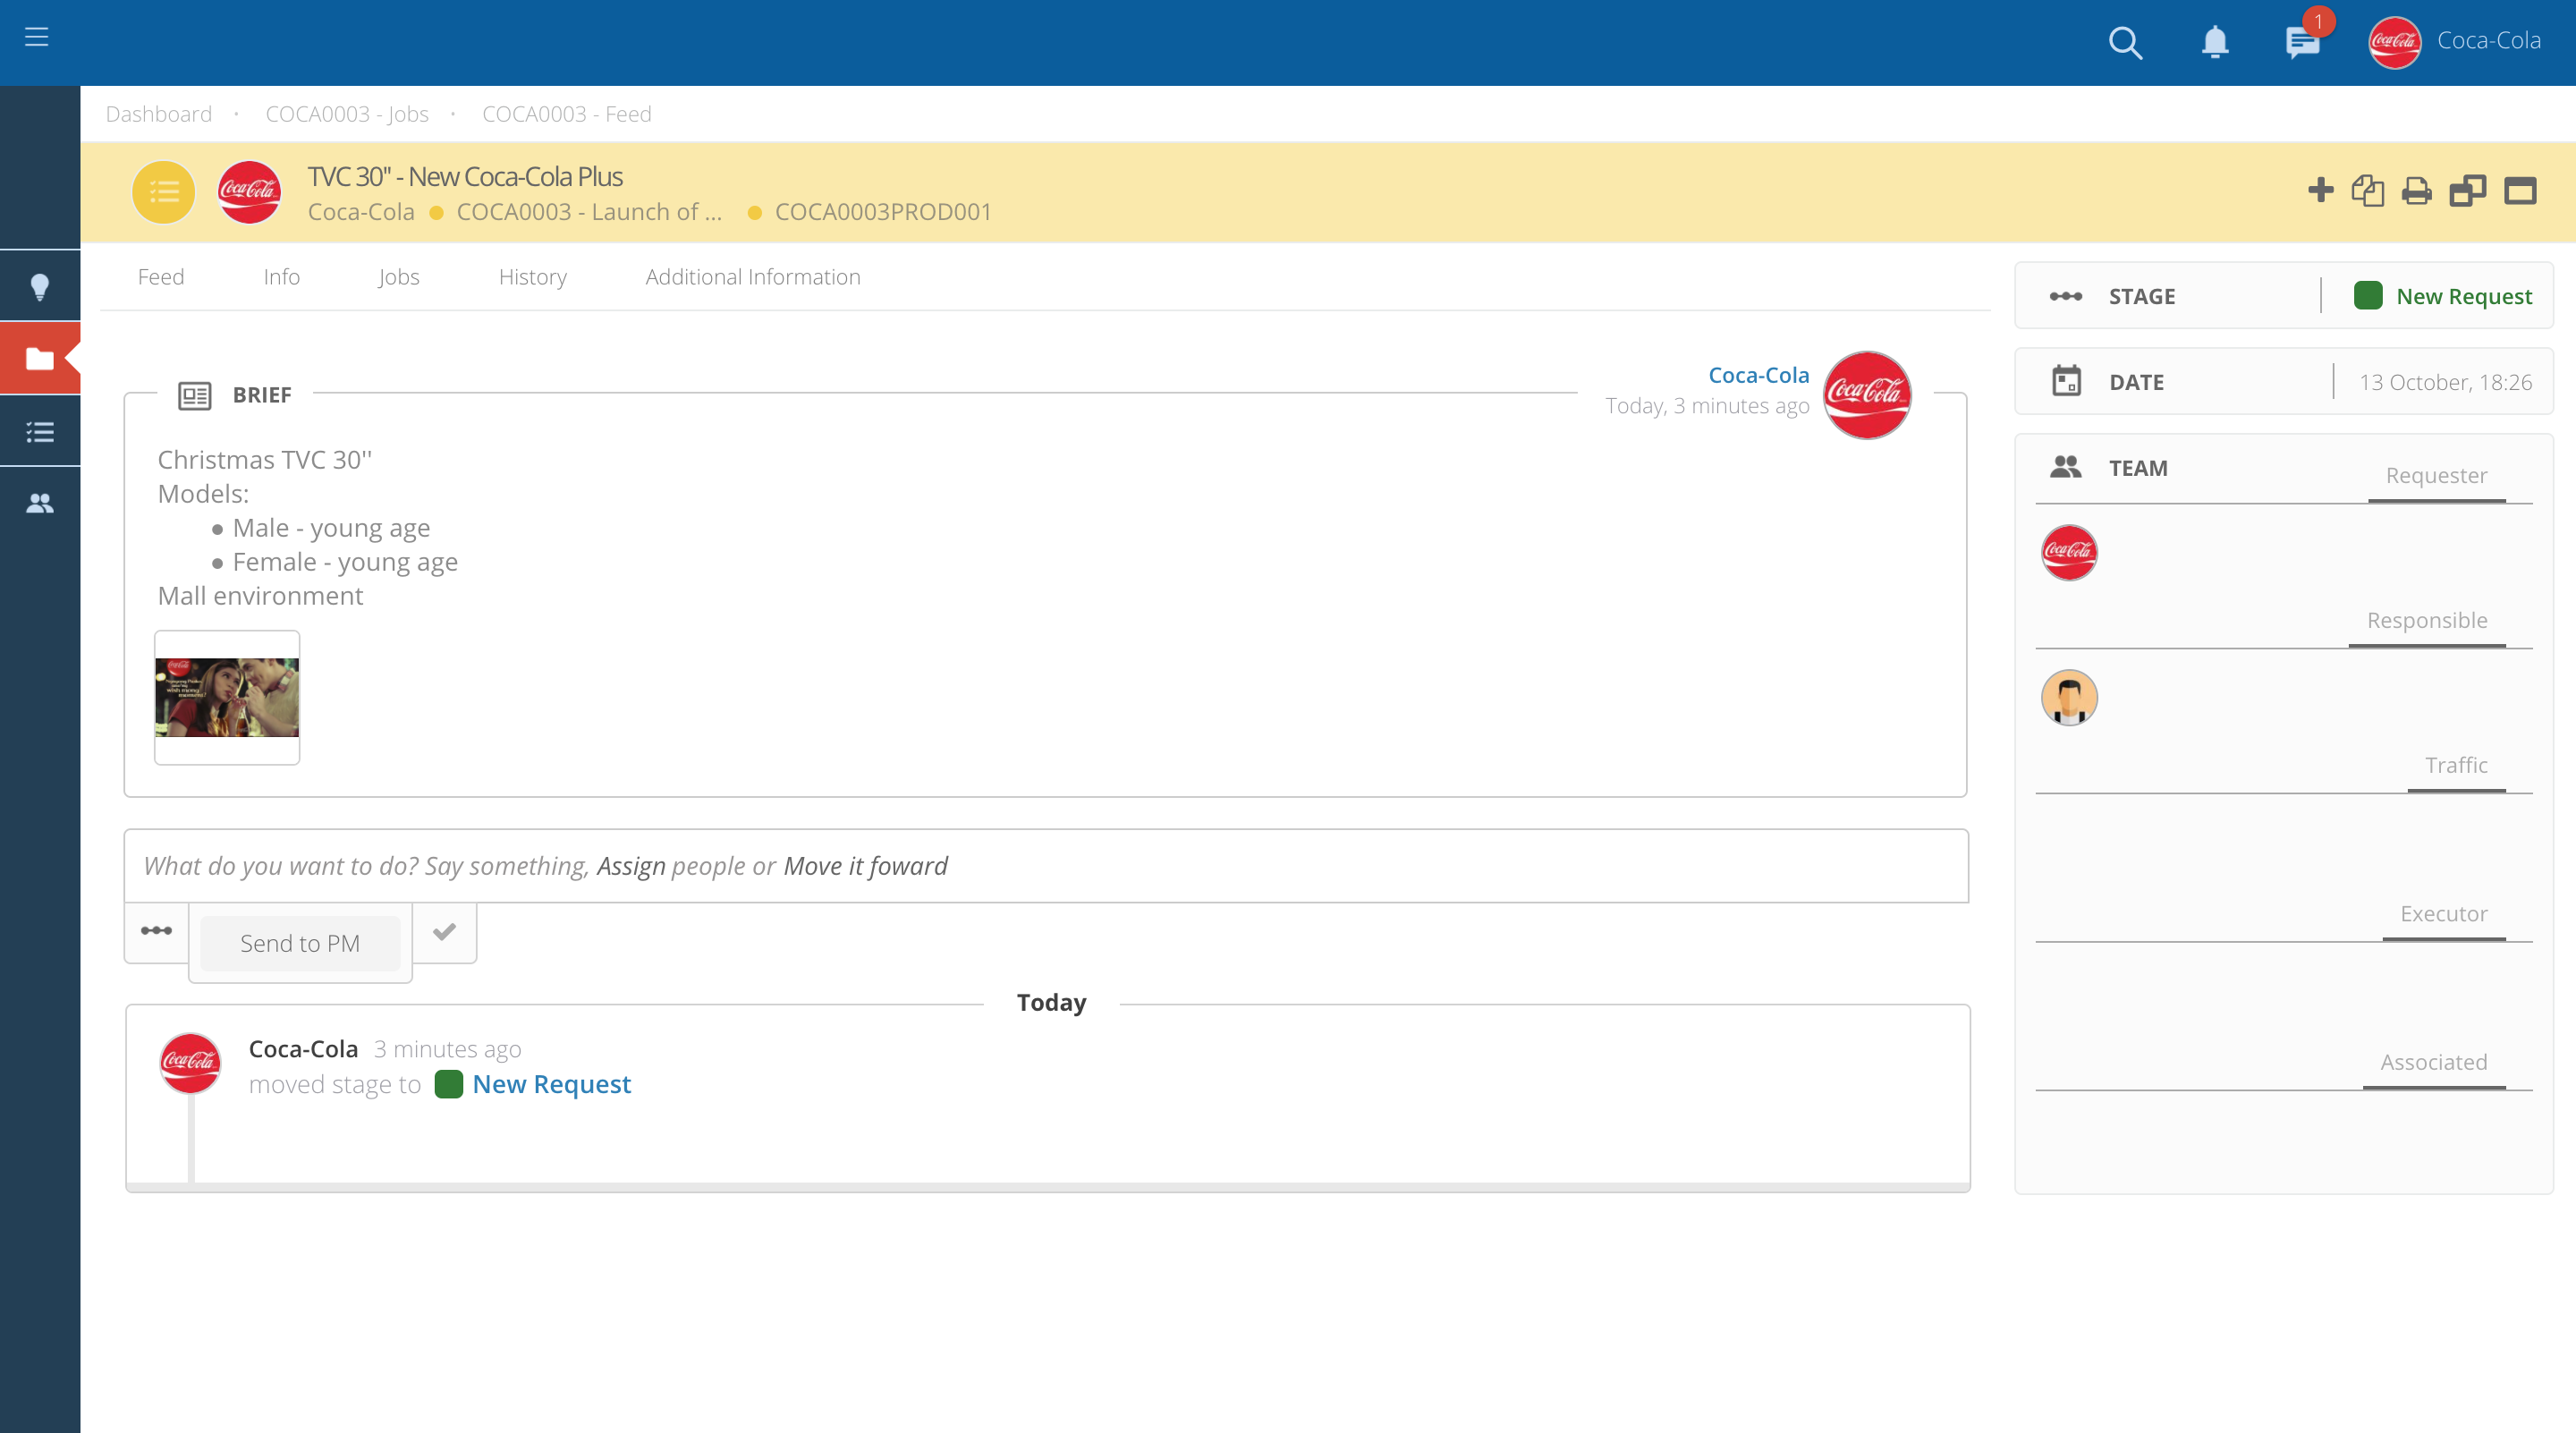
Filling in the job creation popup form.
-
Title - name you would like to give to the Job.
-
Department - Department to which the request/Job belongs to.
-
Job Type - Type of Job you want to create (e.g. TVC, Print, etc).
-
Begin/End - Choose when the Job starts and when it will end.
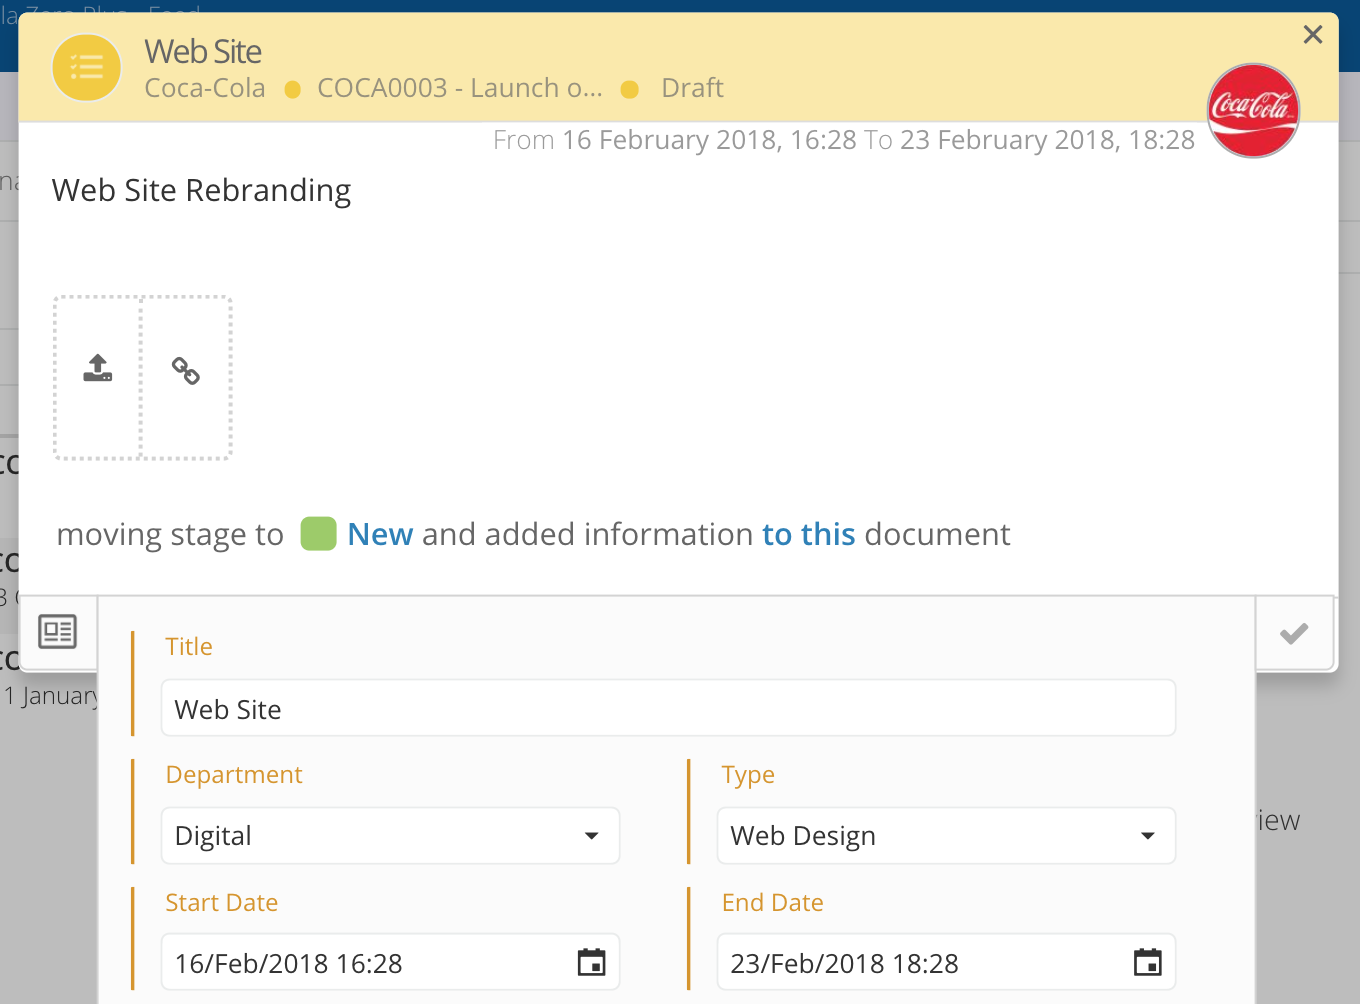
After completing all the details, make sure you submit the post in order to create the Job.
-
Once the Job is created, it will get a number that can be used as a reference.
-
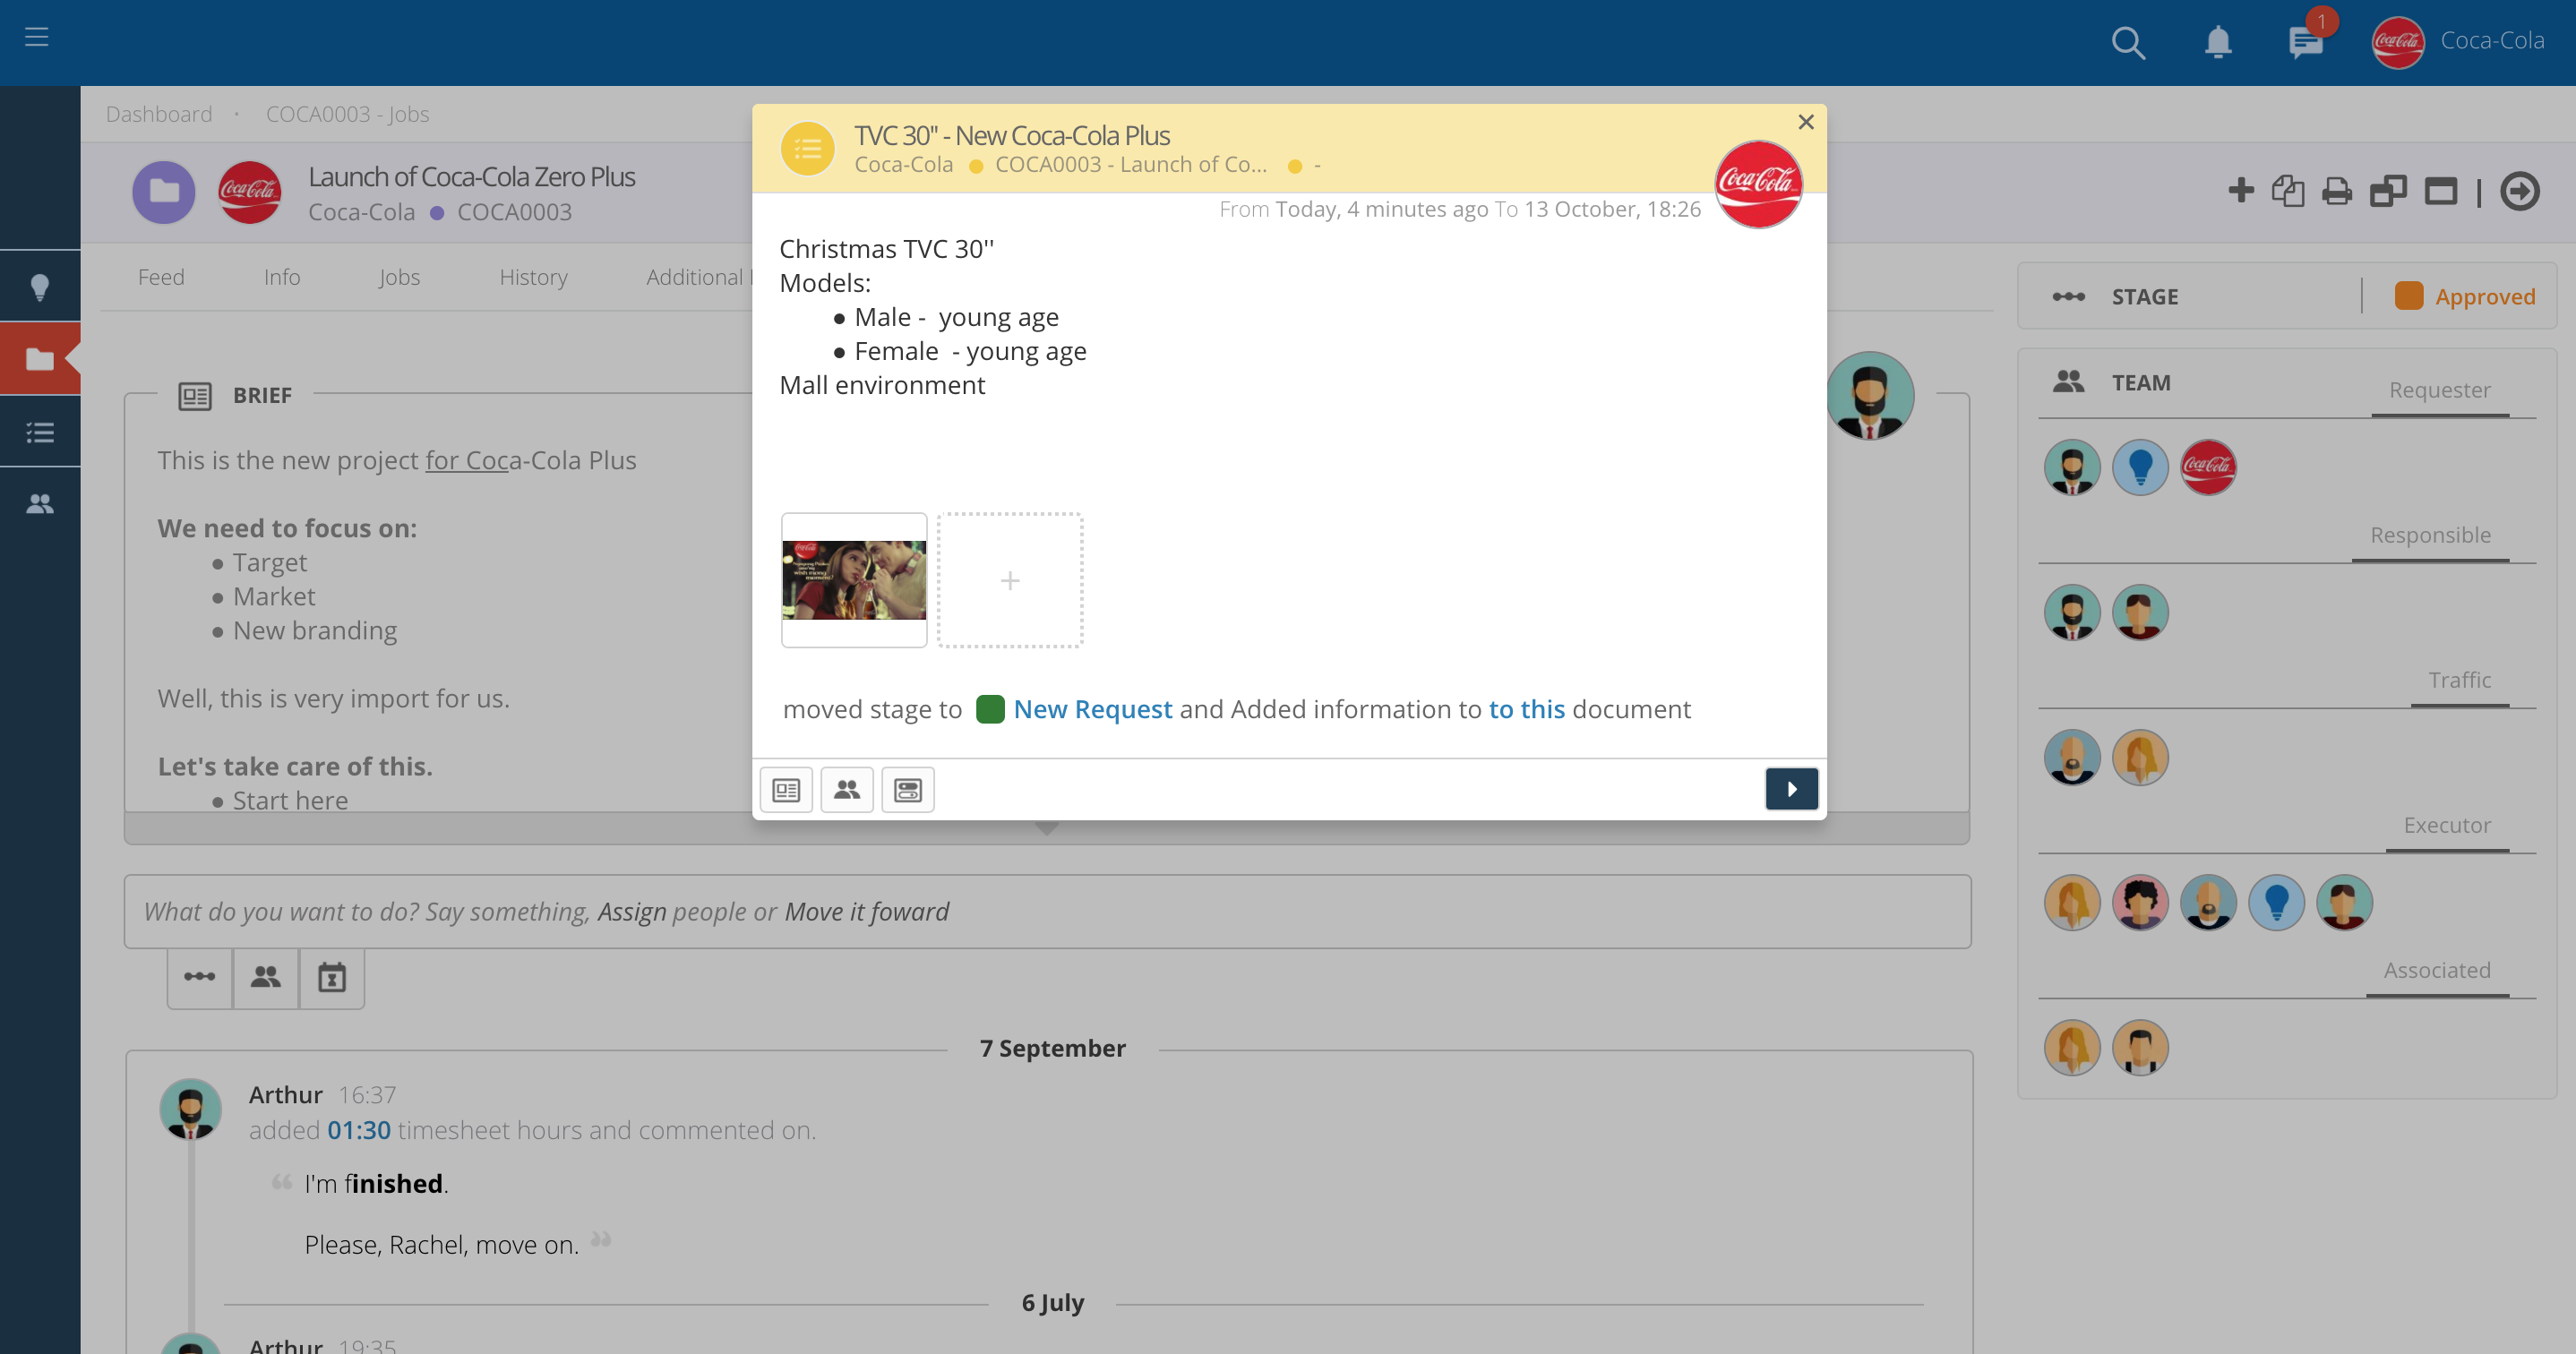
Don't forget to upload all the relevant information such as files, briefs, etc in order for the Account to be able to fully understand your request.
-
Each Job you create represents a new request for the Agency. You can create as many jobs/requests as you need.
Move the Job status
-
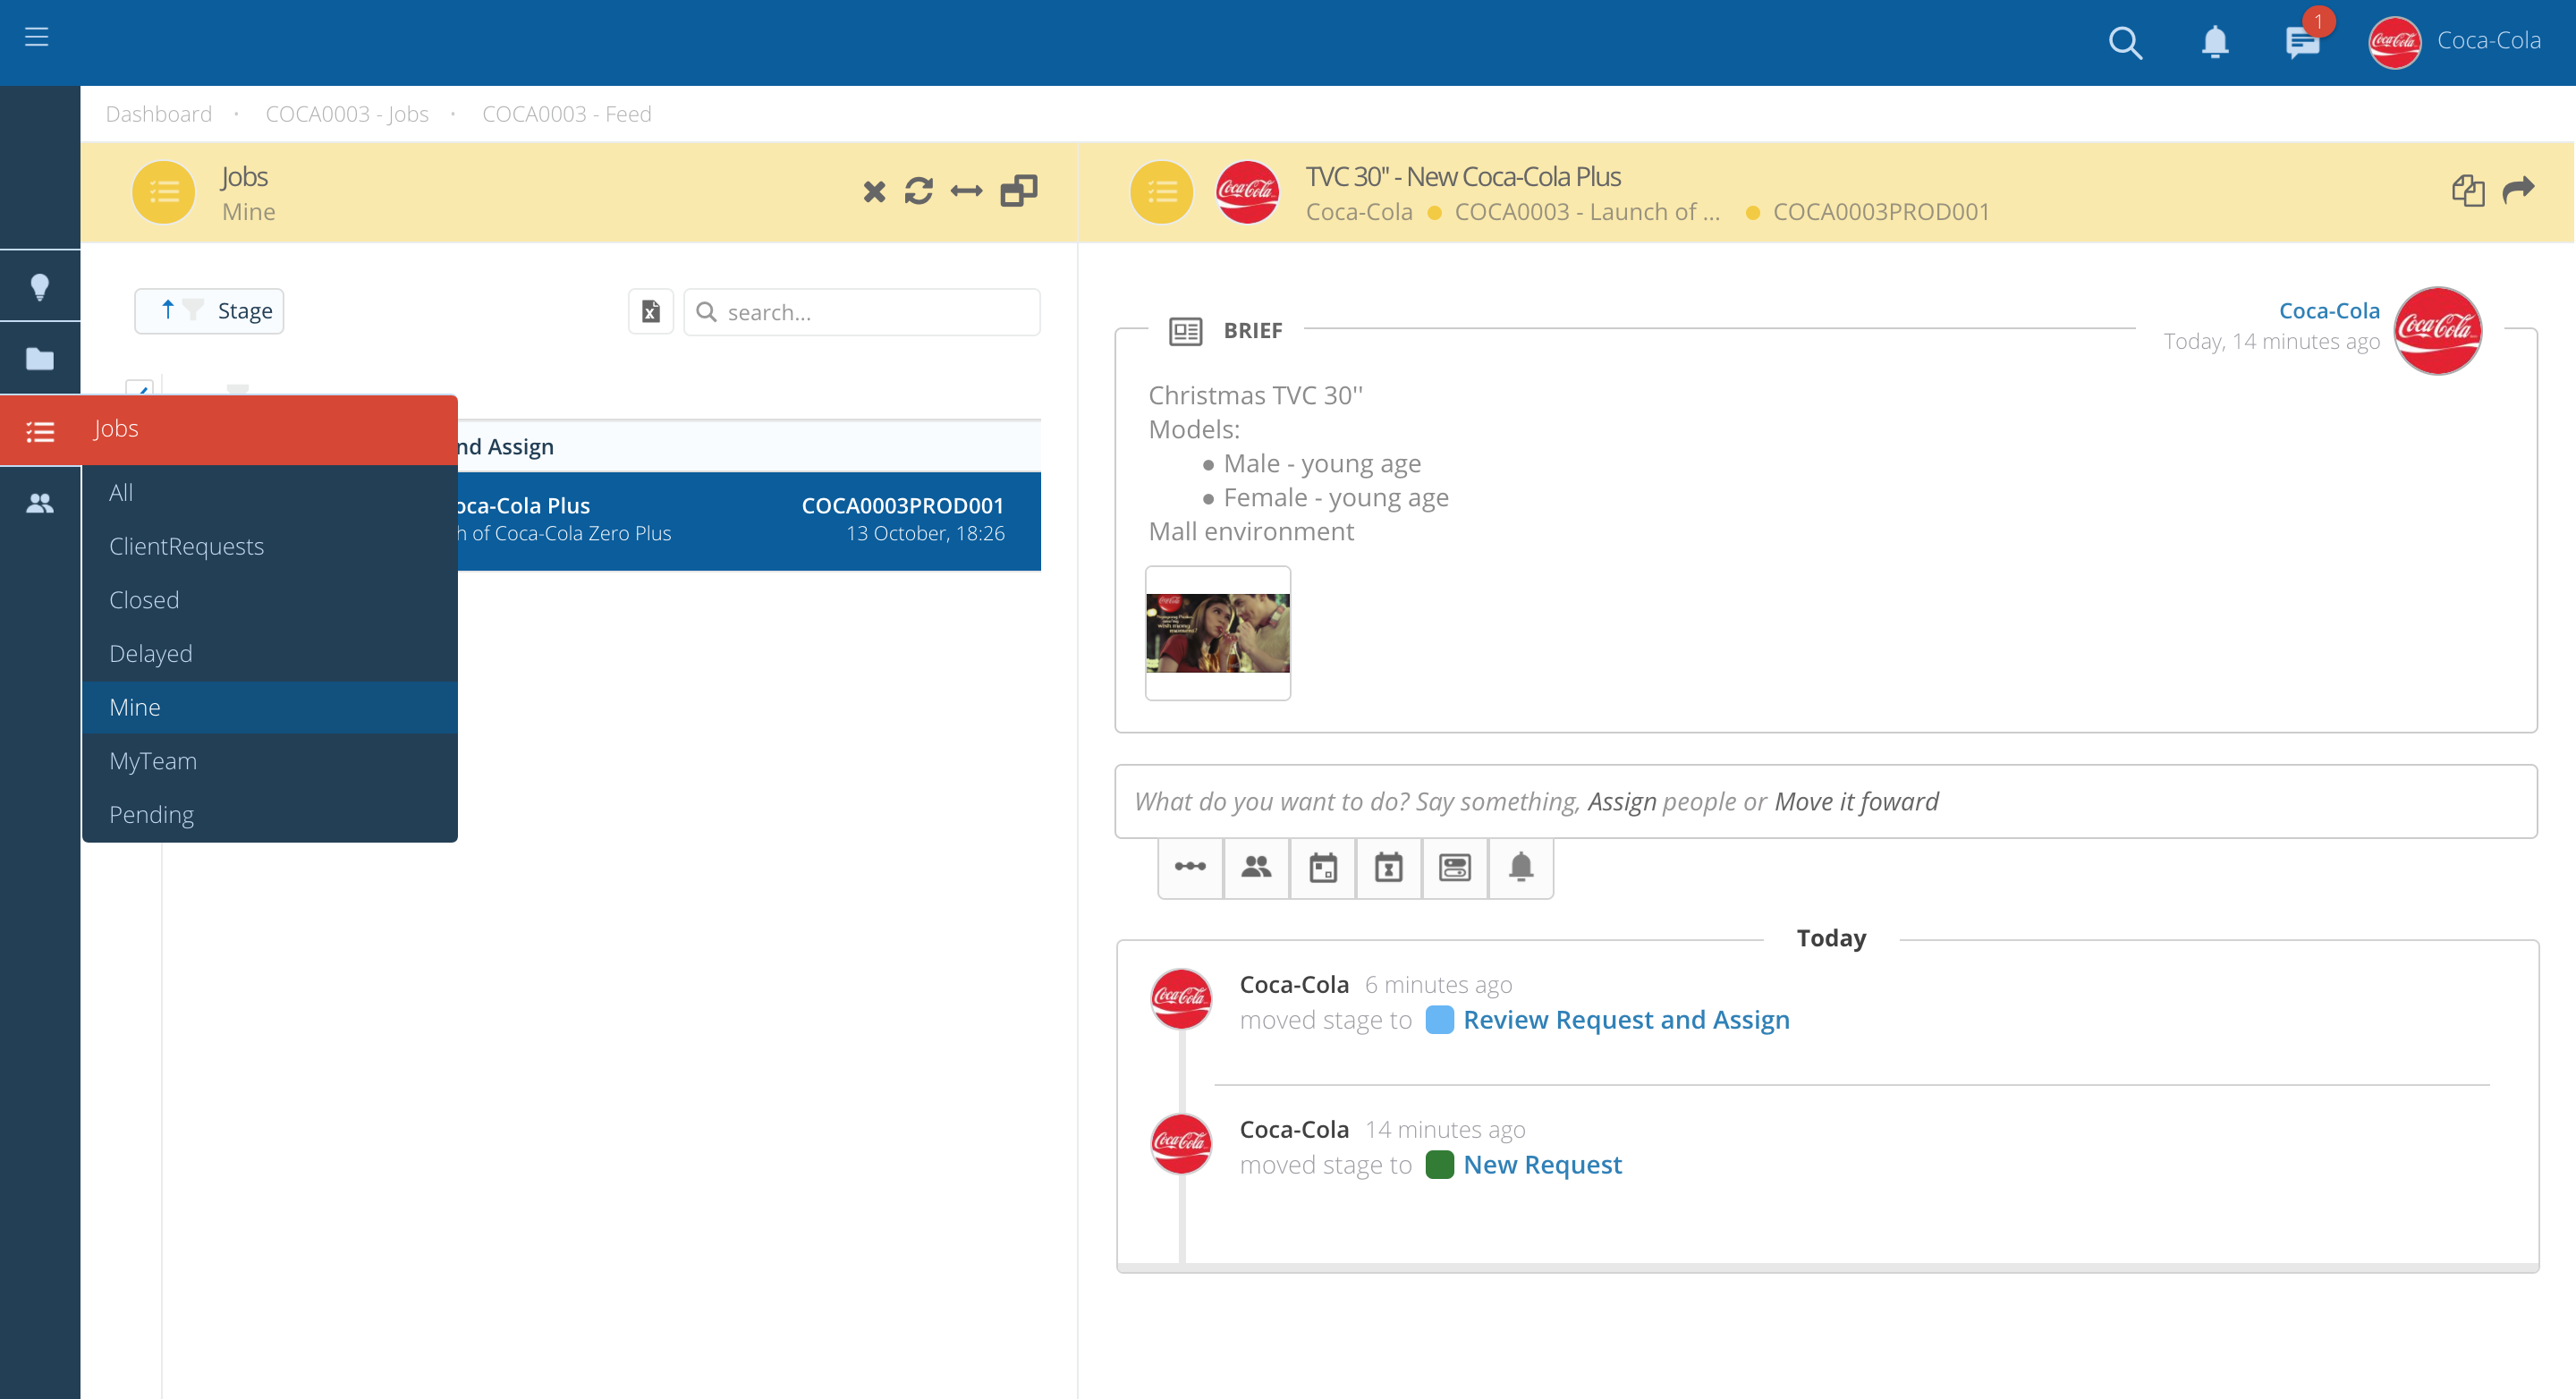
Once you activate the Job you will need to continue to move the Job Forward by changing the Job Status.
-
For that you just need to click on the Screen_Shot_2017-10-10_at_12.21.36.png symbol and select one of the available options.
-
Once you send the Job, the Agency will be able to review the request and Assign the team.
-
Please note that all approvals and adjustments should be registered under the same Job/Request. This way it would be easy to track all changes needed, and the history of each request.
Throughout the process, you can always check the stage of your requests by clicking on the Job sub-list "Mine".
-
By clicking on this sub-list you can check in which stage the Job is and also access the details of the Job, such as new posts, comments, etc.
-
Once your Request is complete, you will be notified that the Job is completed.
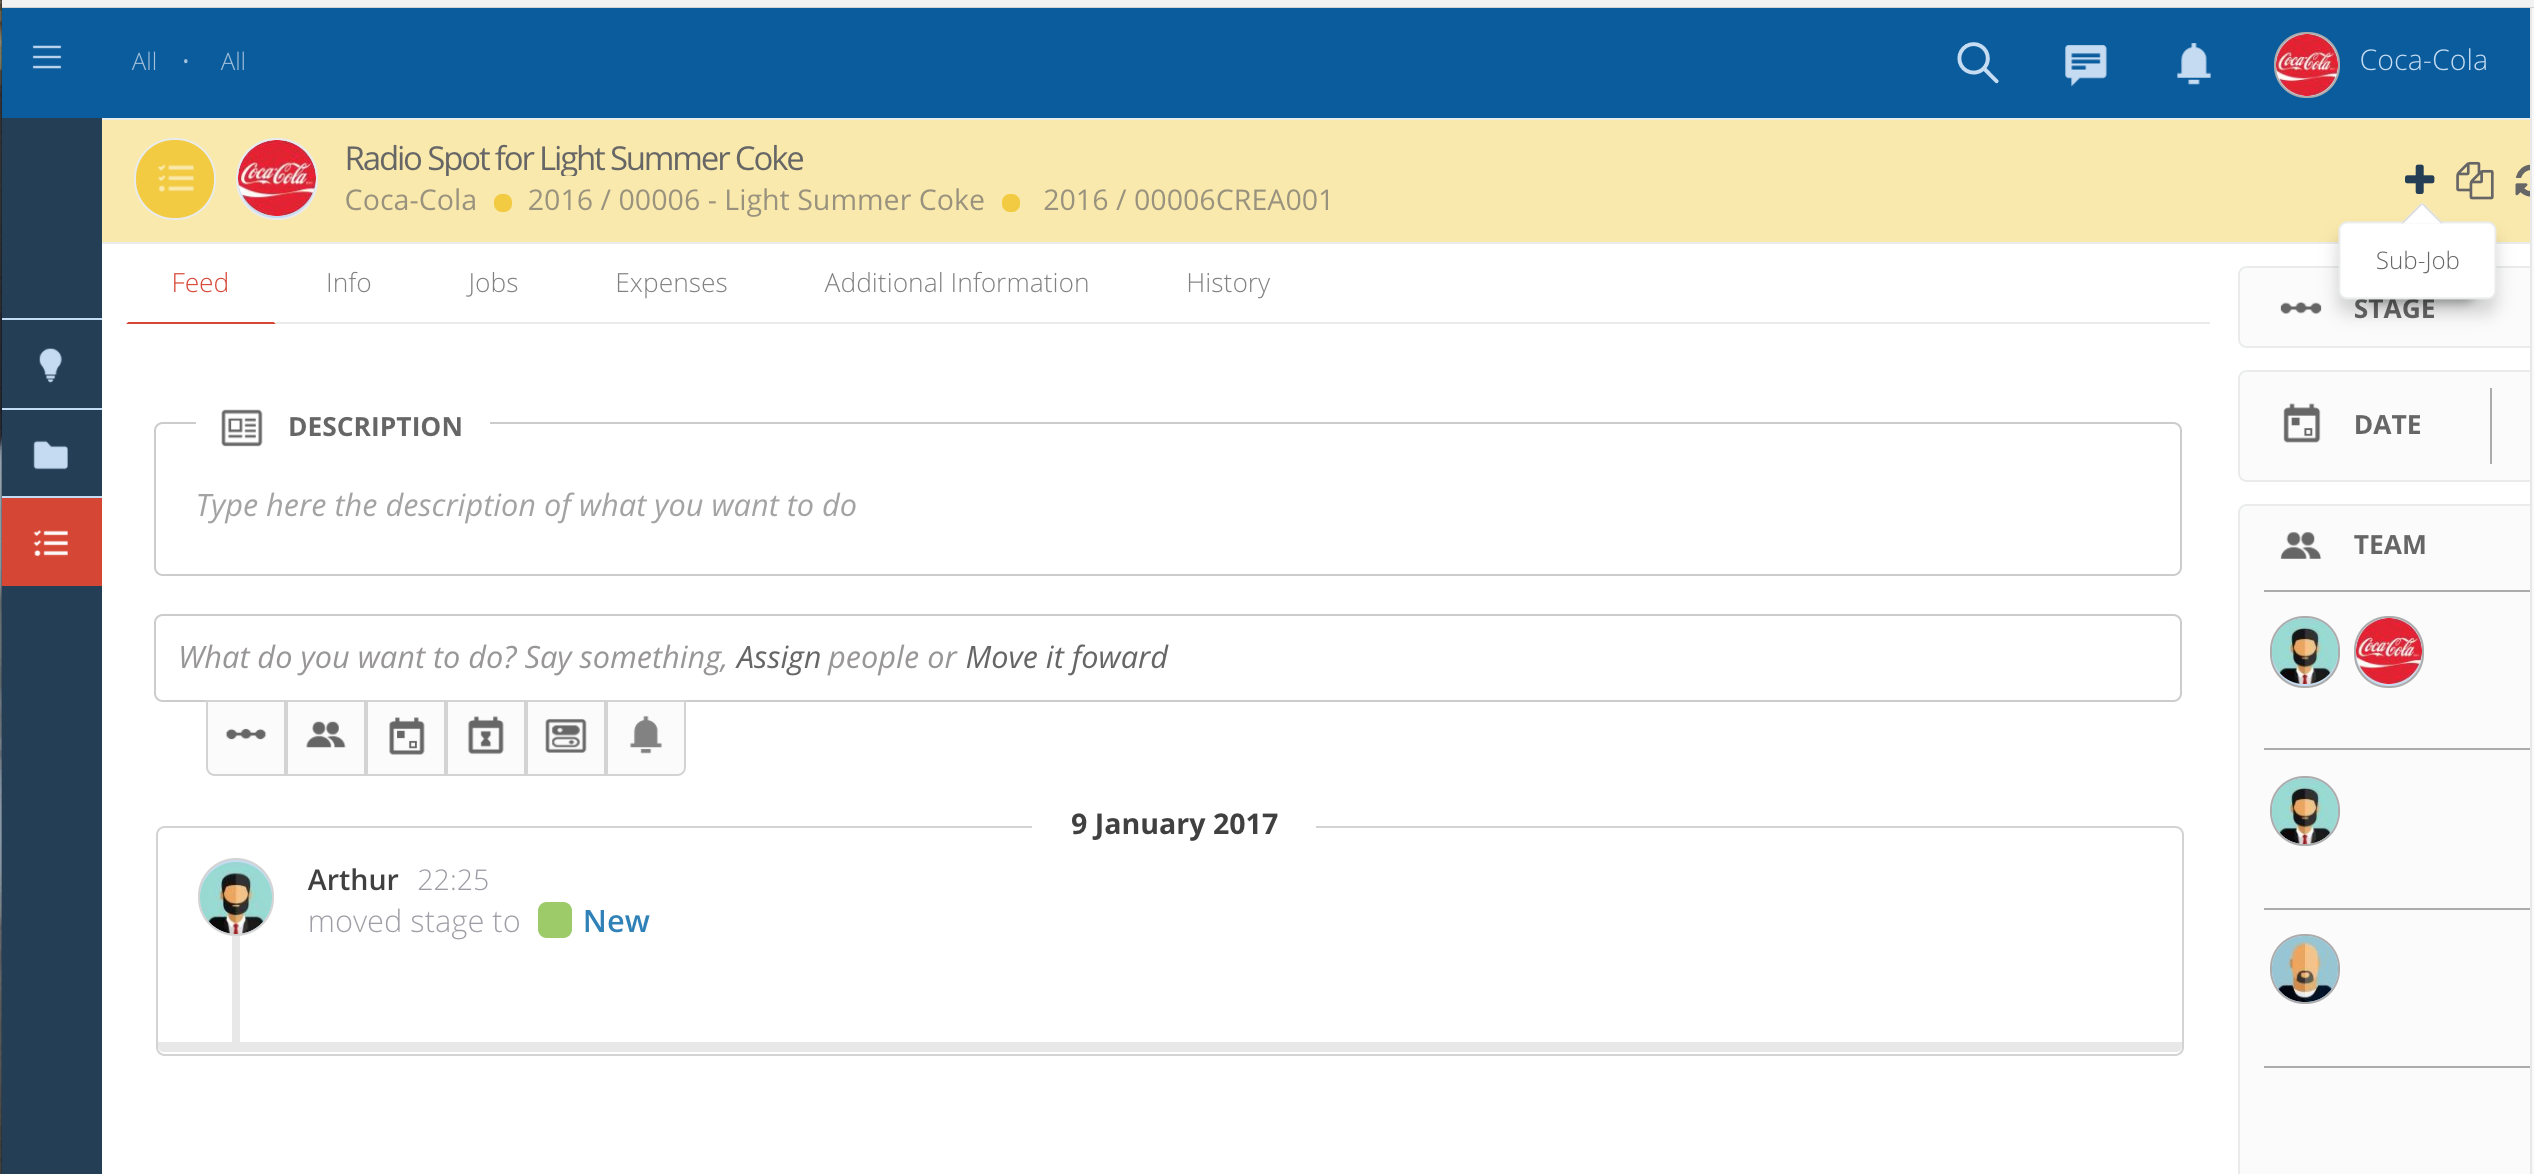
Also it is possible to create Sub-Jobs under a main Job.
Create Sub-Jobs under a main Job
-
By clicking on the main job you can create sub-jobs with specific requests related with the main one.
-
Inside the Job press on the option "+", create sub-job.
-
The information needed is the same you need to fill in on a Job.